

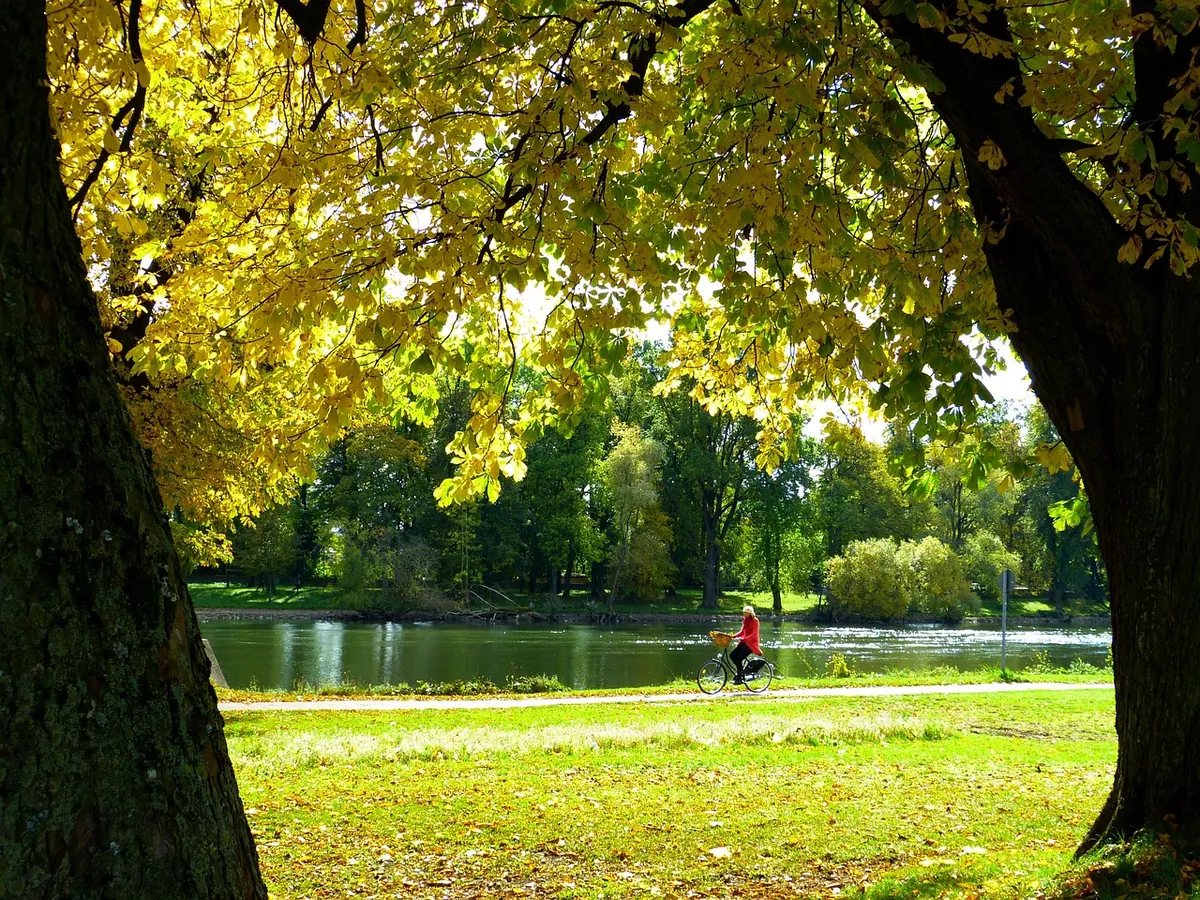
Thames Cycle Route for Beginners: Safe Bike Setup and Weekend Ride Tips
The Thames is one of the friendliest places in Britain to learn to ride. The ground is flat, the river gives you a direction, and there is almost always a cafe within reach when your legs start asking questions. Riverside paths are shared space, though, and the first few rides go much better when the bike fits, the helmet sits properly and the route is one you have checked before leaving the house.
None of it requires expensive kit or much fitness. It does require a little preparation, and that preparation is what separates a relaxed two hours by the water from a tense one spent wrestling with a loose helmet strap and a path that turns out to be closed. The good news is that most of the fixes take less time than brewing a pot of tea, and they make the difference between finishing with a smile and wishing you had stayed home.
Choose a Bike You Can Stop, Push and Lift
For towpaths and riverside trails, the sweet spot is an upright bike with tyres between 32mm and 45mm, brakes that work in the wet, and gears low enough to get you up a bridge ramp without standing on the pedals. A hybrid, a city bike or a gravel bike with sensible tyres all do the job. Mudguards are a quiet luxury on a damp towpath, and a rear rack or basket turns a short ride into a useful one if you want to carry a picnic or pick up shopping on the way home.
What you want to avoid is a bike that fights you. Narrow slick tyres and drop bars feel twitchy on loose gravel and unforgiving after an hour; a heavy full-suspension mountain bike soaks up the bumps and then wears you out over 15 miles. If you are borrowing a bike, ride it around the block first and check you can reach both brakes comfortably from where you actually sit. A bike that feels stable at walking pace is a good sign for a shared path, because you will spend more time at walking pace than you expect.
Five checks before you set off
- Brakes: squeeze both levers hard. They should feel firm and stop the wheel, not reach the bar.
- Tyres: press a thumb into the tread. If it sinks easily, pump them up.
- Gears: click through every gear on a quiet stretch. Skipping chains are easier to fix at home.
- Wheels: spin them and look for wobble; check the quick releases are tight.
- Saddle height: with your heel on the pedal at the bottom of the stroke, your leg should be almost straight.
Fit the Helmet Before You Fit the Bike
A helmet that sits on the back of your head, or slides forward over your eyes, will not protect much and will annoy you all ride. Five minutes of adjustment sorts it out.
- Loosen the dial and the straps, then put the helmet on level, with the front edge about two fingers' width above your eyebrows.
- Tighten the rear dial until it grips without pinching.
- Adjust the side straps so they form a V just below each ear.
- Fasten the chin strap so you can fit one finger underneath. Snug, not tight.
- Shake your head firmly. The helmet should stay put.
Helmets are not legally required for adults in the UK, and they are no substitute for riding sensibly. On a shared path with gates, dogs and low branches, though, most people find one worth wearing. If you wear a cap or a headscarf, adjust the dial to suit; if you wear glasses, make sure the rear cradle does not push them down your nose. Replace any helmet that has taken a real knock, and if you have a head injury history or a medical concern, ask a professional rather than a cycling forum.
Plan a Route That Avoids the Busy Bits
The Thames has two kinds of path, and it pays to know which one you are on. The Thames Path is a walking route; cycling is allowed on some sections and not others, so read the signs at each access point. The signed cycle route along the river is generally the better choice, mixing towpath with quiet roads where the riverside is closed to bikes. A gentle first outing might be Kingston to Hampton Court and back, Richmond to Putney where cycling is permitted, or Reading to Sonning on a mix of riverside and quiet lanes. Check local signs, because permissions vary from one stretch to the next.
For a first weekend ride, keep it short. An out-and-back of 10 to 12 miles is plenty: you get the river, you learn how the bike feels, and you can turn around whenever you like.
- Check the surface and the gates. Gravel, mud and kissing gates all change your average speed.
- Find a train station near the halfway point. Knowing you can bail out takes the pressure off.
- Start early at weekends. Popular stretches get crowded from mid-morning.
- Look up closures the night before. Towpath repairs happen, and diversions onto fast roads are not what you want with tired legs.
- Note one cafe and one toilet. It sounds trivial. It rarely is.
Reading the path ahead
Slow down before gates, bridges, blind bends and anywhere the path narrows. Anglers have poles that reach most of the way across a towpath, dogs on extending leads can sprint in any direction, and a swan with cygnets will defend its stretch of bank. Assume none of them has seen you. Look beyond the rider in front, too: if their shoulders suddenly rise or they stop pedalling, something is probably about to happen.
Ride Confidently in Shared Space
Confidence on a riverside path comes from being predictable. Ride in a straight line, keep left, and signal clearly with your arm before you move out around a pedestrian, a puddle or a moored narrowboat. Call out a friendly "passing on your right" or ring a bell early, not when you are already alongside. A bell used from ten metres away is a courtesy; a bell used from one metre away is a surprise.
On a shared path, the goal is not to be fast. It is to be boring in the best way: steady, visible and easy to predict.
- Give walkers room. If the path is narrow, slow to walking pace or stop and let them pass.
- Pass on the right, but only when clear. Check behind you as well as ahead.
- Use lights in low light. Shade under bridges and trees can hide you surprisingly well.
- Say thank you. A nod or a wave keeps the path friendly for everyone.
What to Carry on a Short Riverside Ride
You do not need a garage's worth of tools for a two-hour ride, but a few small items turn a minor problem into a five-minute pause instead of a long walk home. Carry what fits comfortably in a small saddlebag, frame bag or backpack, and test that you can actually use it with cold hands.
- Water and a snack: a banana, oat bar or handful of nuts is enough for a short ride.
- Phone and payment card: for maps, train tickets, cafes and emergencies.
- Spare inner tube, tyre levers and mini pump: matched to your wheel size and valve type.
- Small multi-tool: enough to tighten a loose seat post or bottle cage.
- Light waterproof layer: river weather changes quickly, even in summer.
- Lights and a small lock: for cafe stops and early finishes.
- Plasters and a tissue: small, light and occasionally priceless.
If you are riding a bike with tubeless tyres or hub gears, ask the shop or owner what you should carry instead. The principle is the same: solve the common problems, not every possible one.
Weather, Clothing and Comfort
Riverside weather can feel a season behind the city. Wind is the thing most beginners underestimate, because a gentle tailwind out becomes a stubborn headwind home. Wear layers you can remove, avoid baggy trousers that catch on the chain, and take thin gloves in spring and autumn. In summer, sunscreen and sunglasses matter more than you think, especially on open stretches with no shade.
Comfort is not about expensive padded shorts, though they can help. It is about saddle height, tyre pressure and taking breaks before you are miserable. If your hands go numb, sit more upright and move your grip around. If your knees ache, your saddle is probably too low. If you are new to cycling, a steady 8 to 10 mph is a good pace on shared paths; faster is often neither safer nor more enjoyable. Turn around while you still have energy left, and the last mile will feel like a victory rather than a chore.
After the Ride: Five Minutes That Save the Next One
Before you put the bike away, wipe the chain with a rag, check the tyres for flints or thorns, and store the bike somewhere dry if you can. Recharge any lights, hang up damp clothing, and make a note of the one thing that annoyed you: a slipping gear, a rattling mudguard, a helmet strap that would not stay put. Fixing that one thing during the week means your next weekend ride starts with a quiet bike and a clear head.
The Thames rewards riders who keep it simple. Choose a bike you can control, wear a helmet that fits, plan a route with an escape route, and ride as if everyone around you is a friend you have not met yet. Do that, and the river will give you exactly what it gives thousands of beginners every year: an easy, flat, beautiful place to remember why you started riding in the first place.
Photo: LoggaWiggler / Pixabay